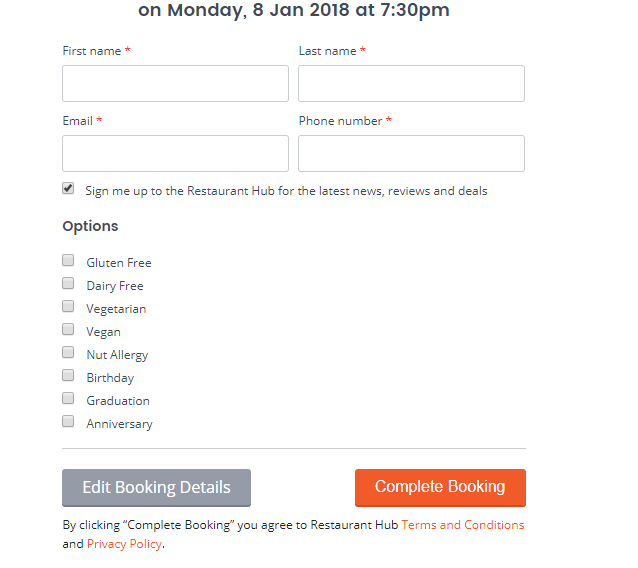
There are two types of a Tick box, one used when customers make a booking (see below), and check boxes that are used as tags for staff that are not displayed online (see the guide on using tags).
For example, if you wanted to know if the customer booking had any dietary requirements you could add check boxes as seen below:
Before we get started, there are few things you should know about tick boxes:
1. The order of the Tick Boxes online is the same as the order in your system. This cannot be changed so keep that in mind when you set up your tick boxes
2. There is no way to delete a checkbox once it has been created. If you try to write over a checkbox to create a new one, this will affect every booking to date that has been assigned that tick box. For example, if we had a tick box called 'Allergies' but decided to change it to 'Dietary Requirements', every past booking that was labelled 'Allergies' will be changed to 'Dietary Requirements'.
To add a Tick Box
1. Open your E.Diary and click on 'Menu'
2. Scroll down and click on 'Setup'
3. In the bottom left, select 'Booking Options' ( you will also see 'Customer Options' which we talk about later on).
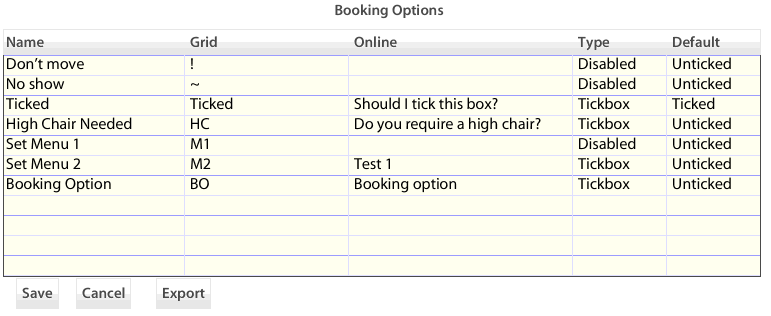
4. Click on the white space under 'Name' and name your checkbox.
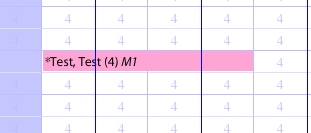
5. Under the 'Grid' column type the same name or an abbreviation (this is what will show in your booking system).
6. 'Online' is what the customer will see, If you leave blank it will default to what you have used in the 'Name' column.
7. Under 'Type' choose the type of tickbox it will be. IMPORTANT: You must choose 'disable' if you do not want it displayed online.
8. The 'Default' option lets you decide whether you want the checkbox pre-ticked or blank.
9. Press save and check the website to make sure it appears when you make a booking.
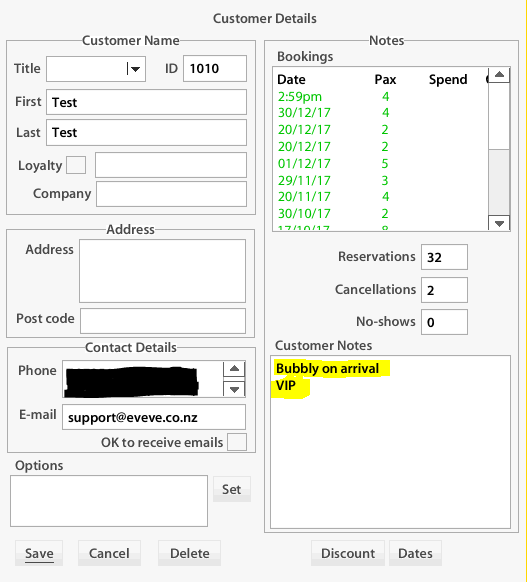
IMPORTANT: 'Customer Options' are set up the same way and can be used to label certain customers e.g. 'VIP', 'Local', 'Likes a table by the window' and will show up every time that specific customer books. These all must be 'Disabled' to prevent customers seeing the tickbox online.